Earlier this month's sneak peak for InStyle Stamps, I made this Angelfish gel card and I would like to share this with you.
Let's start with 3 pieces of cardstock, 1 piece of pattern paper (My Mind's Eye Ooh la la), 2 Angelfish Instyle images, a zip lock bag, and my circle nestabilites.
 My card is a square card 5"x5".
But cut your card base 5" x 10 1/4", then score at 5" and 5 1/4" (which will create extra room for the gel).
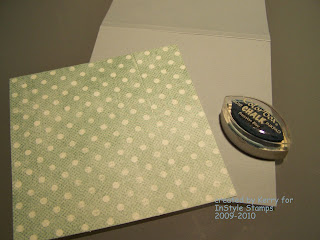
 Then cut your pattern paper to a 4 3/4"x 4 3/4" square, then use the chalk ink to ink the edges. Now go ahead and adhesive to the front of the card.
Then, cut one 4 3/4" x 4 3/4" square with your white cardstock and one more 4 3/4" square with your base color cardstock (that's the back of the front of the card).
You will also need to "temporarily"adhere the back of the front of the card (the extra 4 3/4" square from your base color cardstock).

Place the round nestiabilites as desired, then run it through with the Cuttlebug.
(Since it has 3 layers of paper, you might have to run it through a few times.)
Also you will have to cut 2 of these frames (one for the front and one for the back).
First, squeeze some hair gel (about a droplet) into the zip lock bag, spread the hair gel evenly in the bag, then get rid of the excess air and close the bag. You don't need a lot. Try a droplet first, then adjust as needed. Secure the zip lock bag on the card with double-sided tape.
 Then cover the front back of the card, and the 2nd nestiabilities round frame.
 Then go ahead and chalk the 4 3/4" white square cardstock (both aqua & blue, plus I also added some yellow on the top).
First, squeeze some hair gel (about a droplet) into the zip lock bag, spread the hair gel evenly in the bag, then get rid of the excess air and close the bag. You don't need a lot. Try a droplet first, then adjust as needed. Secure the zip lock bag on the card with double-sided tape.
 Then cover the front back of the card, and the 2nd nestiabilities round frame.
 Then go ahead and chalk the 4 3/4" white square cardstock (both aqua & blue, plus I also added some yellow on the top).
 Then run it through with the Sizzix embossing folder. If it doesn't fit the whole paper, it's okay to leave the lower bottom part of the paper un-embossed, you'll be able to work it out, you'll see!


5 comments:
Thank you so much for sharing this fun tutorial! You did a great job, Kerry!
So cool! The tutorial is awesome and easy to follow :)
What a gorgeous card, Kerry! Such a great tutorial and so easy to understand! I never would have thought to use hair gel in a project! How clever!
Super fun card and tutorial Kerry! I definitley want to try this one!
Love this card!! I will have to try this one!!! Great tutorial Kerry!!
Hugs:)
Angela
Post a Comment